MXTNote Mobile App
Table of contents
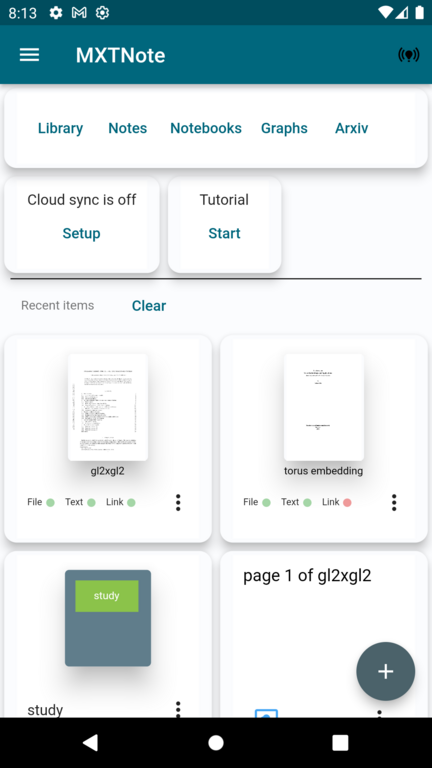
Start Page
After first install, you will see the following page, you can start adding files and notes by the "+" button, after that, you can go to the individual views: Library, Notes, Notebooks, Graph, Arxiv. These will be explained in detail later.
There are a few interactive tutorial you can take to get familiar with some of the steps.
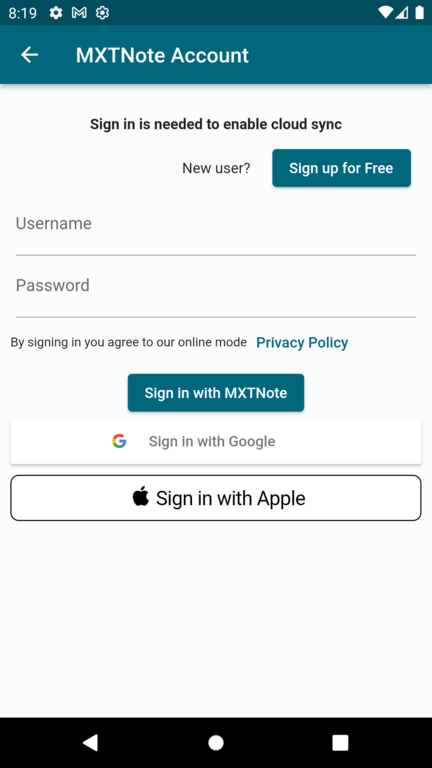
To set up cloud sync, you can click the the Cloud accout - Setup to start the setup.
As you start to use the app, your recently visited items is shown toward the bottom of the start page.
Cloud sync setup
For cloud sync, you would need to sign in with either MxtNote account or your google or apple account.
If you don't have a MxtNote account, click Signup or visit https://note.mxtsoft.com to register a free account.
You can also choose offline mode, In offline mode file and notes are not synced and functionality which needs server API will not be available
Delete cloud account
if you decide to permanently delete MxtNote account, you can go to the app, tap "Account" to go to account screen, then tap "Sign out and delete account"

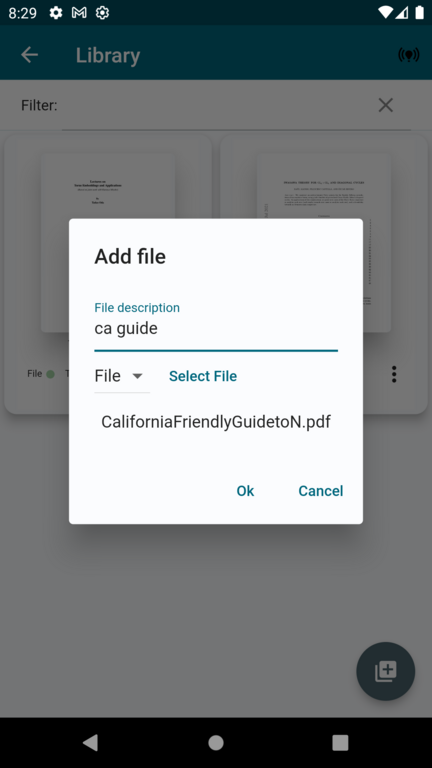
Add a local file
In the library screen, tap the + button to add a file from your local device, or choose the URL option to add file with URL
Add a file from Arxiv
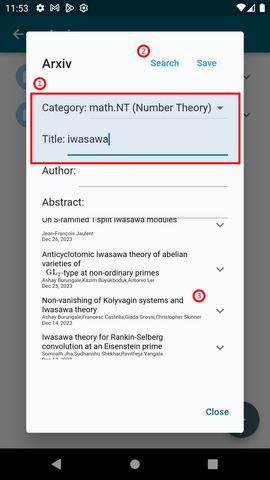
it can also be added from an Arxiv search, move to the Arxiv tab, click the + button
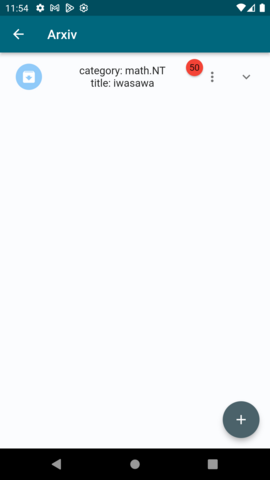
Click on the article to read it, or click the "..." menu to edit the description or delete the article. The list item can be expanded to show the note in the article.
Click the + button, then click on either the +file or +arxiv button
Search a file by description
the text field on top of the library screen can be used to search a file by its description.
Edit/Delete File
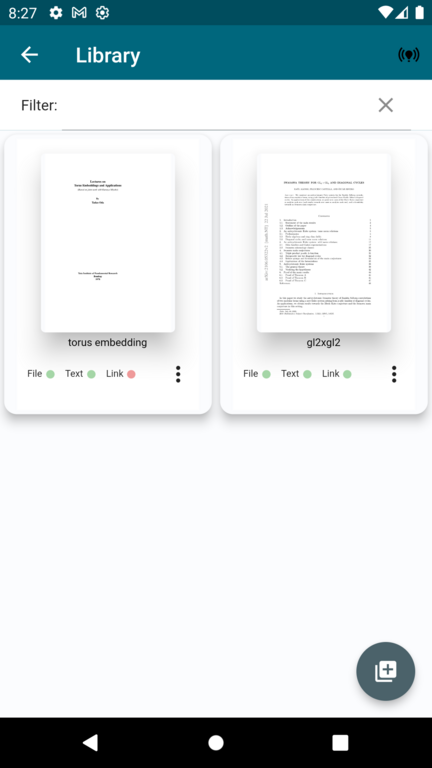
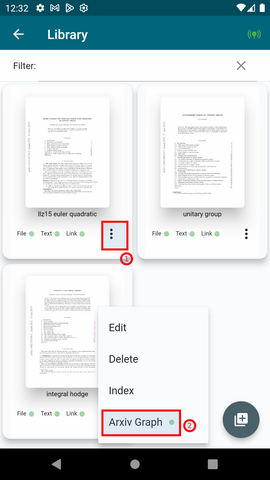
After a file is added, a card with the first page thumbnail and the description of the file will be shown, at the bottom right corner there is a popup menu. You can use the popup menu to edit file description or delete the file.
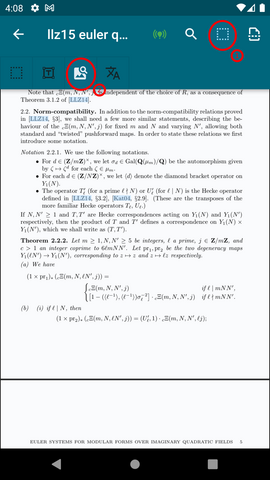
Arxiv Graph
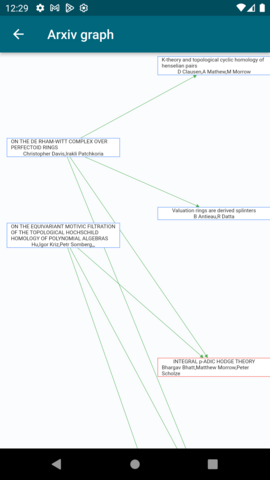
If the file is from Arxiv, for online user the popup menu for the file will have option to build arxiv reference grap from and to this file. This is useful if you want to find new article in Arxiv which reference the one you have read. The first time you tap the "Arxiv graph", a request will be sent to the MXTSoft cloud server and its processed in background, you can check the progress by open the popup menu again, when the green indicator shows near the "Arxiv graph" text, you can tap on it and then tap "View current result" to see the result. In the "Arxiv graph" screen. You can tap on the article to add it to your library
Read article
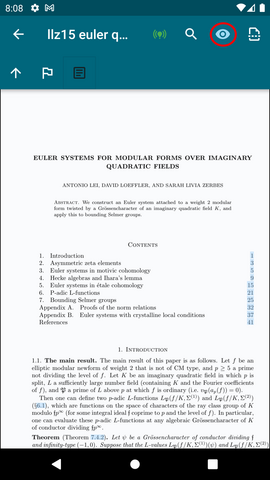
Tap on a article in the library screen to open it. When it first comes up, the read mode is selected. We can zoom in-out using the usual gesture. the zoom level will be remembered in a per-article settings.
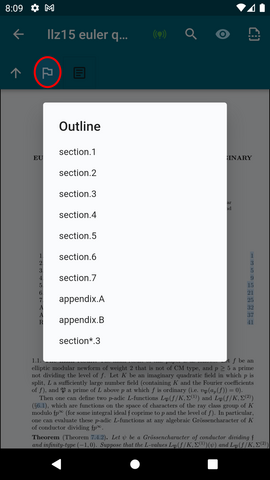
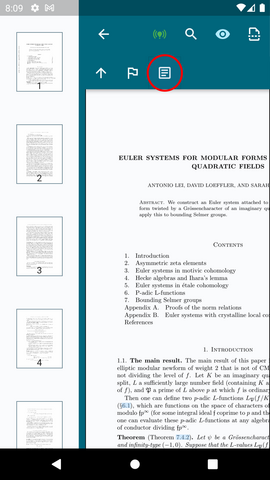
Navigation with PDF outline and links
The links in PDF file are painted with light blue, tap on the link to go the the link target location. After that if you want to go back to the original position, tap the up arrow button.
Tap on the outline button to see PDF outline, if the PDF has outline, a dialog will appear and you can select the item to navigate to.
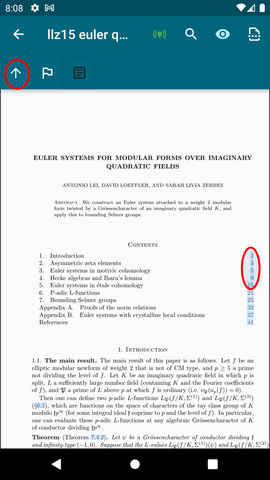
Tap on the thumbnail button to toggle the thumbnail side bar
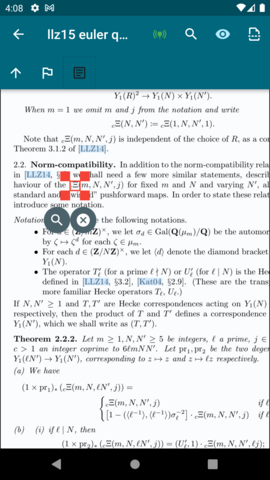
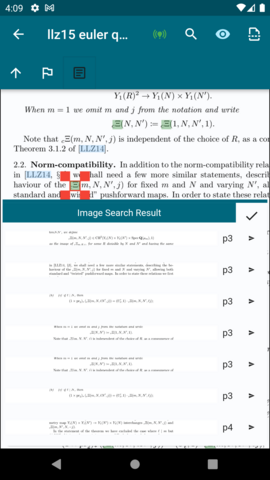
Text Search
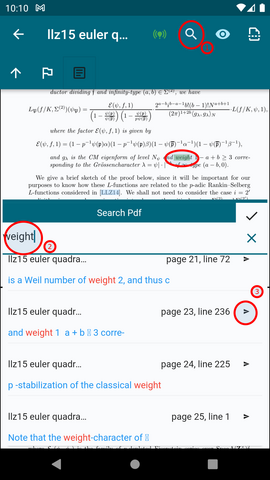
Tap the search icon on the tool bar to start search, enter the search text, the search result will show, tap the arrow button to go to the result, after finding the desired result, tap on the checkmark button to close the search result window.
Write notes
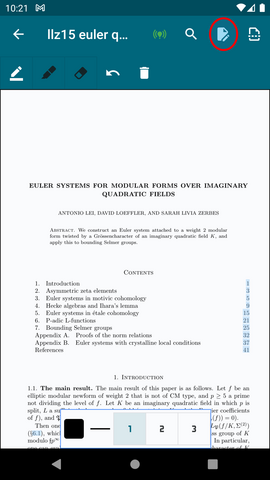
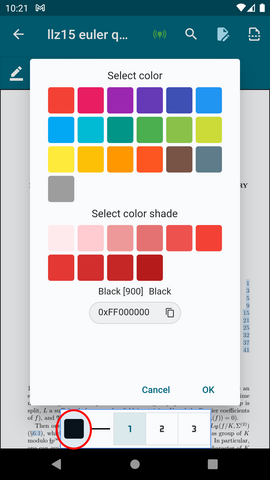
To write note, first change from read mode to write mode, using the mode select button on the top app bar. Then the write mode tool bar will show. The pencil tool can be used to write directly on top of the article, the highlighter tool can be used to highlight part of text. Additional toolbar will appear at the bottom of the screen, you can choose different color and stroke width.
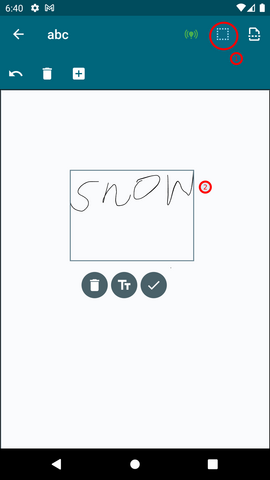
Select region from PDF and make notes
To select an rectangle area from the article as note, first use the mode select button to change to select mode, then choose the box selection tool, then draw a contour around the content you want to select, the bounding box of the curve will be used as the selection
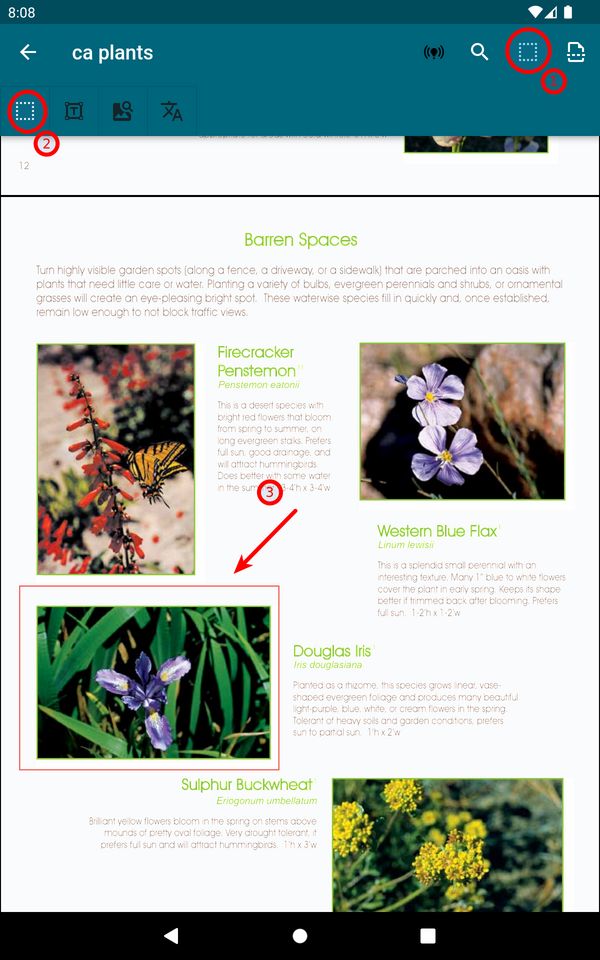
After a selection based note is added, if you want to change it, for example, add text note or tag to it long tap the red box to bring up the note context menu
Here the context menu are, move, edit, delete note, the next one is copy to notebook, and the last one is "go to reference in notebook". When the menu is active, the note can dragged (copied) to a notebook window opened in split mode
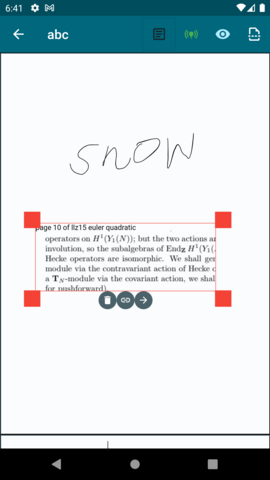
Image Search
To search math symbol which is not possible to search by text, first change to selection mode and select the image search tool, then draw a closed curve to select the image you want to search, then tap the search button in the context menu. In the pop up dialog, select whether you want to search all pages or a range. In the result window, check the preview for each match, tap on the arrow to navigate to the match.
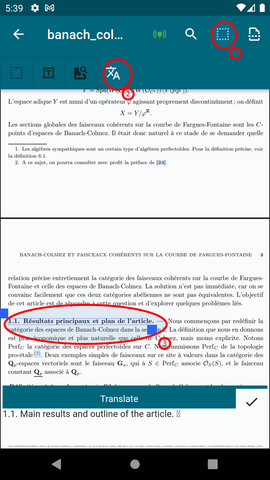
Translation
If the article is in language you are not familiar with, you can translation part of the text to English by first tap the translate too button. then draw a closed curve to select text to translate, after the result is shown, you can modify the selection and see the result updated
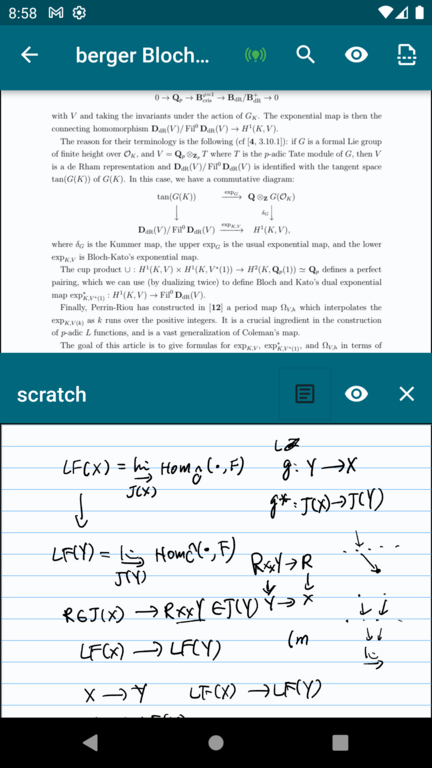
Notebook in splitted mode
In some of the views, the right-most button in app bar can be used to will open another view (notebook, book or graph) in split mode. In this mode you can, for example, read PDF and write to your notebook at the same time, you can use the splitted mode to drag a note from one view to another.
Notes View
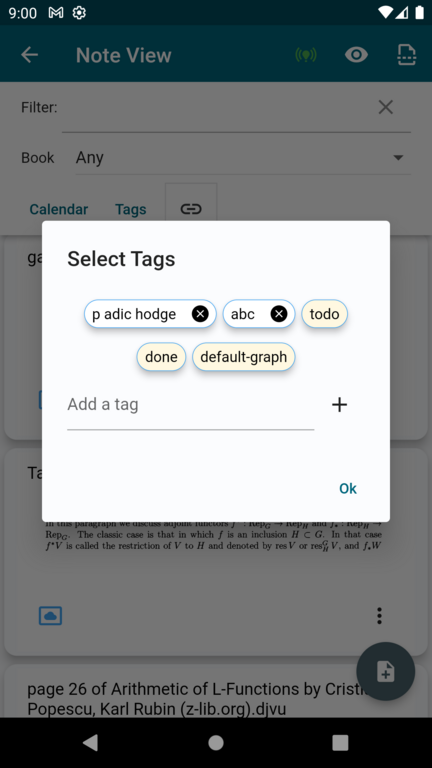
You can use the "Notes" tab to review your previous note, search by note text, the book it originally came from, or the tags. Clicking on the "Tags" button will bring up a dialog in which you can choose which tag to use to filter note, or to create/delete tags.
If the note has reference to PDF, it will have a "cloud" icon, Click on it to go back to its original book to read more.
Click on the ... button to use the pop up menu to edit or delete the note

Link between notes
If the note has links to other note or locations in notebook, a "link" icon will show, Click on it to display the links from the note in more detail.
To toggle link between notes, you can long press the source note, then drag it to the target note.
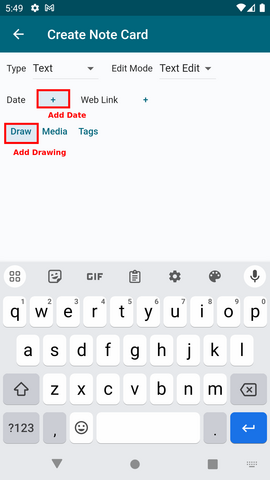
Add Note Card
In note view, you can tap + to add note card, note card are text based note, they are important building blocks for other more complicated form like notebook and graph
In the note card editor window, you can enter text in the main window. You can choose different note type, text, markdown or math. If the type is markdown, you can write the markdown syntax in the text, or use the short cut to add header or item. If you choose math type, you can use the text editor to enter the Latex syntax. if you are not familiar with Latex, you can choose the math editor to edit math formula.
You can tap the "Draw" to attach a drawing to the note.
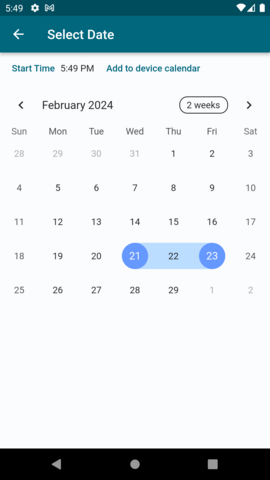
You can assign tag to note card by tap the "Tag" button. You can assign a date or a date range to note card, tap the "+" near the "Date". In the calendar, long press a date to select a single date, or first tap the start date, then tap the end date to select a range.
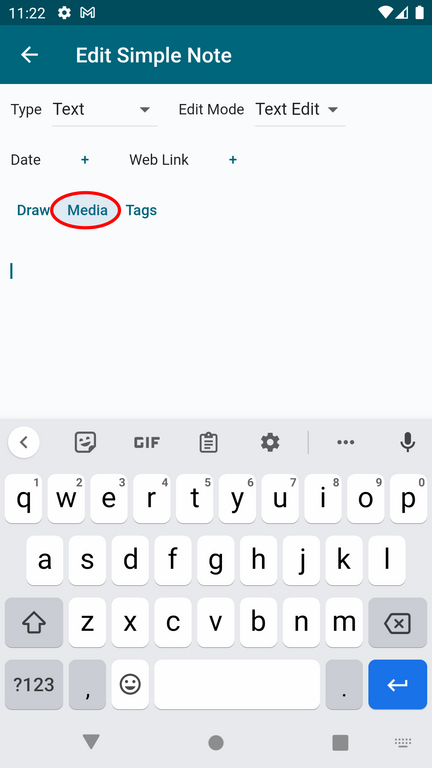
Add media (picture/video) from file or camera
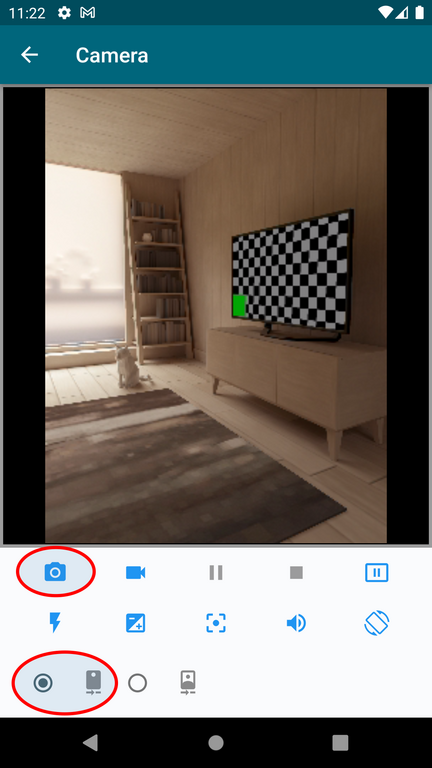
In note card editor window, tap the media button. Here you can add a picture or video either from your files or using camera, if you choose camera, you will see the following screen, first tap the last row to select the camera to use, then tap the snapshot button to take a picture, after that, it will return back to the note card editor window
Notebook View
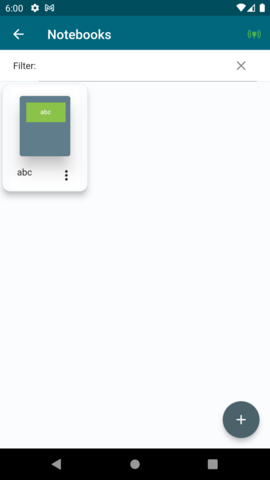
In the notebook tab, you can create your own notebook by using the "+" button, then click the notebook to open it.
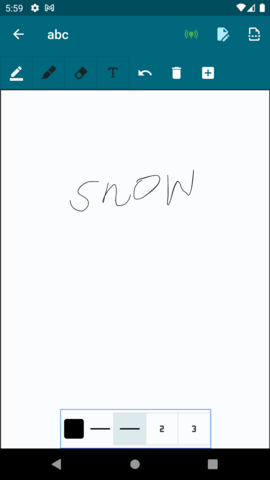
The toolbar's first row buttons from left to right:
- pen: use stylus or finger to write on notebook
- highlighter: similar to pen, but write in transparent color
- eraser: erase some strokes
- text: add text
- undo: undo previous action
- clear page: clear all the content in the current page(can be undone)
- add page: add a new page in the end of the notebook, and make the new page the current page
If you select pen tool, the bottom tool bar can be used to select pen color and stroke
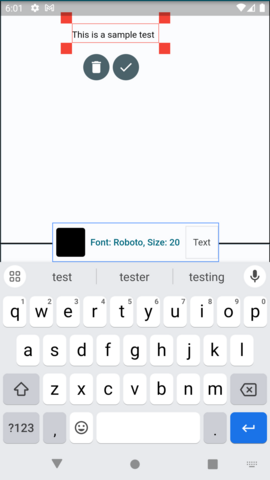
Edit Text
To edit the text, long tap on any existing text, this will go into the text edit mode. A text toolbar will show at the bottom, it can be used to change text font and size, color
Select Notes
In notebook view, choose select mode and draw a curve around the handwriting or text you want to select. After selected, you can delete the selection, long tap to drag it to move it, or delete it. You can also convert handwriting to text using the OCR button
Go back from note to its context
For embedded note card which has context in a PDF, long tap to bring up the context buttons, then tap on it to go back to its original context
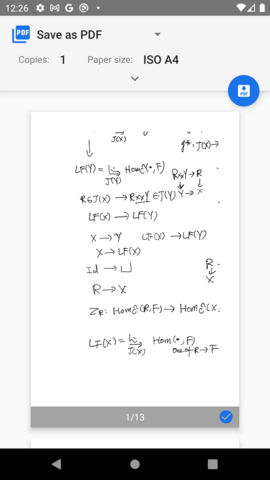
Print and export notebook
In the notebook tab, tap "..." button for a notebook, in the context menu, you can choose "Print" to print the notebook.
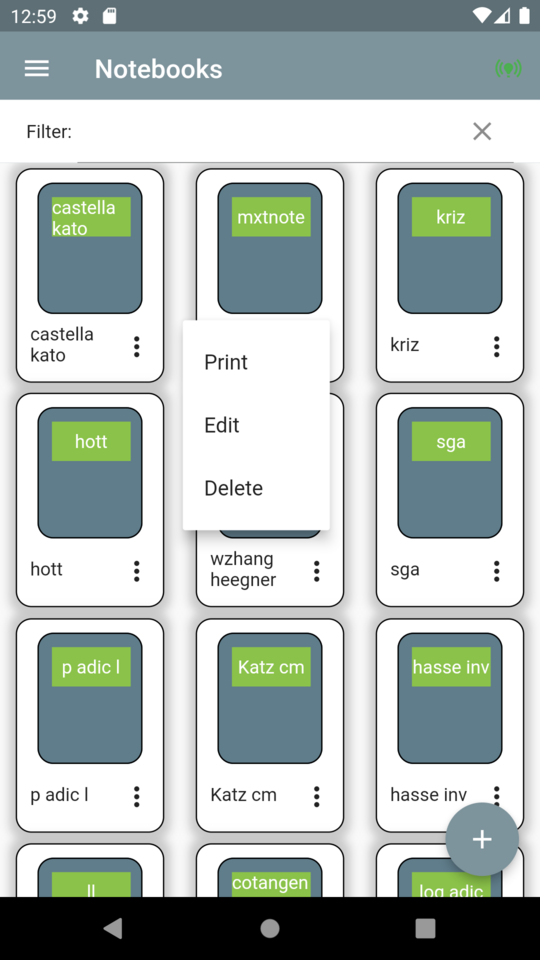
In the context menu, you can choose "Export", this will open the export dialog, you can choose the format and export destination, either "File", or "Email", for email, enter destination address, then tap "Ok" to start the export.
For latext format, the exported file is tar.gz format, the package contains a main latex file and several png files if your note has a context with in a document. Extract the package, edit the note.tex file as needed, then use command "pdflatex note.tex" to compile it to pdf file.
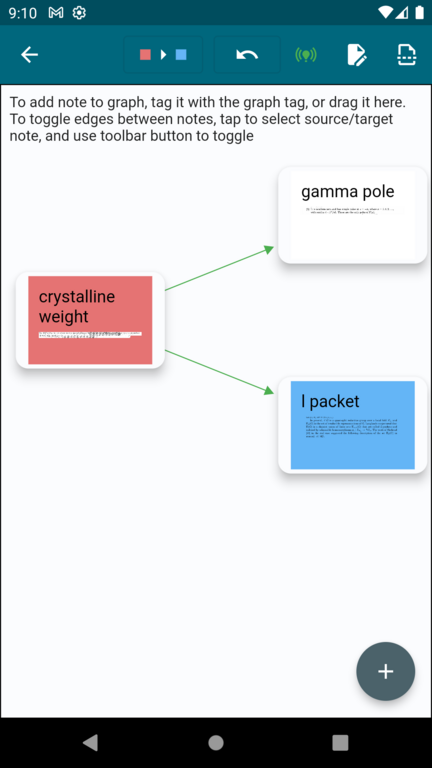
Graph View
In graph view, you can create a graph to connect a subset of simple notes. This is useful to capture some dependency structure in for example, knowledge or tasks. Start be tap the + and enter a name to create a graph. After a graph is created, you can use splitted mode to drag notes into the graph view. After that, open the graph, choose write mode. Tap the notes to select two notes you want to work on, the first selected note will be marked with red and the second one blue, then tap the "toggle link" tool bar button to toggle link between them

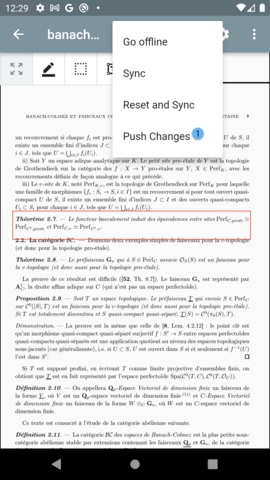
Note sync
Normally all the changes are synced to the cloud automatically, if you temporarily lost internet connection, your edit might not be synced to cloud right away, you might see the following warning screen. When you reconnect to the internet. click on the online button menu, and click "Push" to push the edit. In the rare event where there is an internal error. you might need to use the menu "Reset and Sync" to sync with the server state before the last error.